Exposure
Exposure is one of the most important things to take into account when learning photography. The two main points when talking about exposure in photography are shutter speed and aperture: two things that have to do with light.
Choosing the right shutter speed is super important: if the shutter is open for too long, the image can blur, or the light sources in the image can be streaky-looking (like little comets).
Aperture is the size of the opening that allows the light into the camera (the lens). By making adjustments to the aperture, you change the depth of focus, and can draw the focus of the observer to a particular part of photograph. A couple of good image examples can be found in this article on the basics of aperture.
Learning the settings of your camera
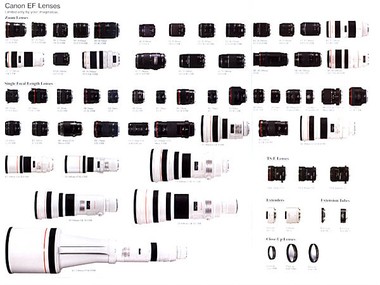
Knowing what the heck your camera can actually do is a great place to start, so don’t be afraid to mess around with some of the settings to see what they do firsthand. However, if you are just starting out, you may have no idea what all those industry-specific words are. Having a good plain-language glossary of photography and camera terms can help you understand a bit better. Choosing the correct lens for the shot is also super important. When you are limited by the number of lenses you have, you might want to practice taking pictures that are best suited for the lens you currently have. But how do you know what works for the lens you have? Having a calculator to figure out the focal length will help you determine which lens you should use when setting up a particular shot. When you are in the market to buy a new lens, you will need to know a little more about what different types of lenses do and how to choose the right one.
Rule of Thirds
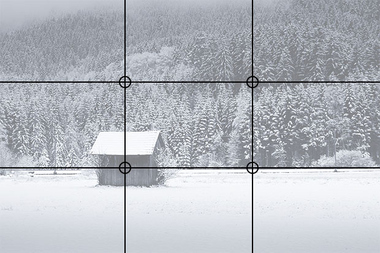
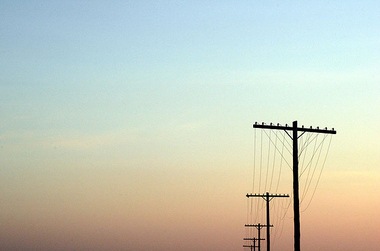
A cool trick for getting the right balance in an image is to use what’s called the Rule of Thirds. Essentially you’ll want to divide the image up into three rows and three columns; basically a tic-tac-toe board. Then, decide where the important parts of the picture are and make adjustments so they are near where the places the lines intersect. What this does is makes the important part stand out, and shows just the right amount of background. If you are taking a more action-oriented image and can’t pause the situation to better position yourself or the target, this principle can also be applied when cropping the image afterward.
Using negative space
Using the Rule of Thirds can make it easier to use negative space. In addition, using different exposure techniques to focus on a particular part of an image can help you master using negative space in an image.
Practice, practice, practice
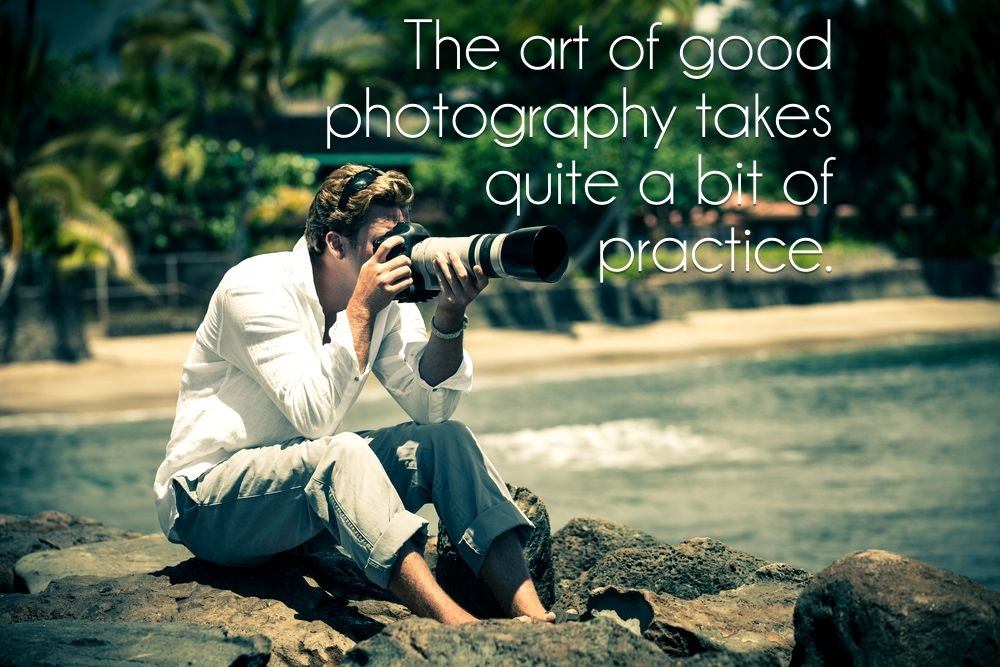
While you can know every single technical term and possible setting to get the optimal photograph, the only way to improve is to practice. One good way to get into the swing of things is to join a beginners’ photography group: Flickr is a good place to look for groups of beginner photographers that you can join. Another great way to practice is to use photography challenges: having a weekly topic will give you something to focus on for the week (pun intended.) Many of these challenges will give you a an adjective describing something to capture in an image—the descriptive word might talk about something wet, or moving, or a view from a distance. No matter if the challenge is an old post or one that is currently happening, it’s a good idea to get a list of things to take pictures of. You can then compare your images with those taken by other people. Featured photo credit: Man sitting on Lava rocks taking pictures in Hawaii via Shutterstock